当前,我们可以看到去中心化这一理念在互联网中的广泛应用。所谓去中心化,就意味着任何参与者均可提交内容,网民共同进行内容协同创作或贡献,最典型的例子要数社交媒体/Social Media平台(Weico,Facebook等),而事实上我们也可以拥有自己的一个平台。不错,Misskey & Mastodon,他们都依存于Fediverse( 联邦宇宙,是由所有基于 ActivityPub 协议通讯的实例及其用户的统称)。
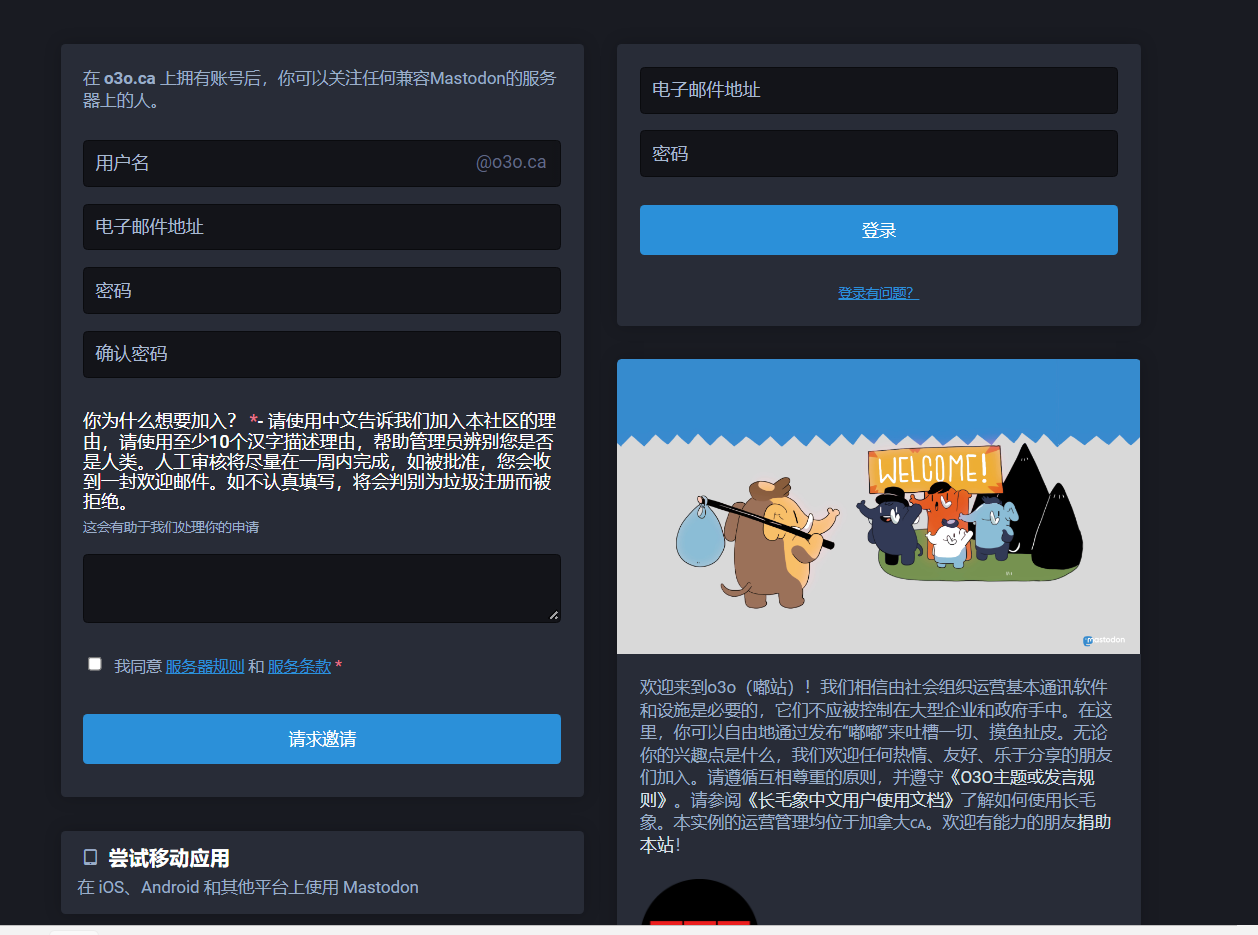
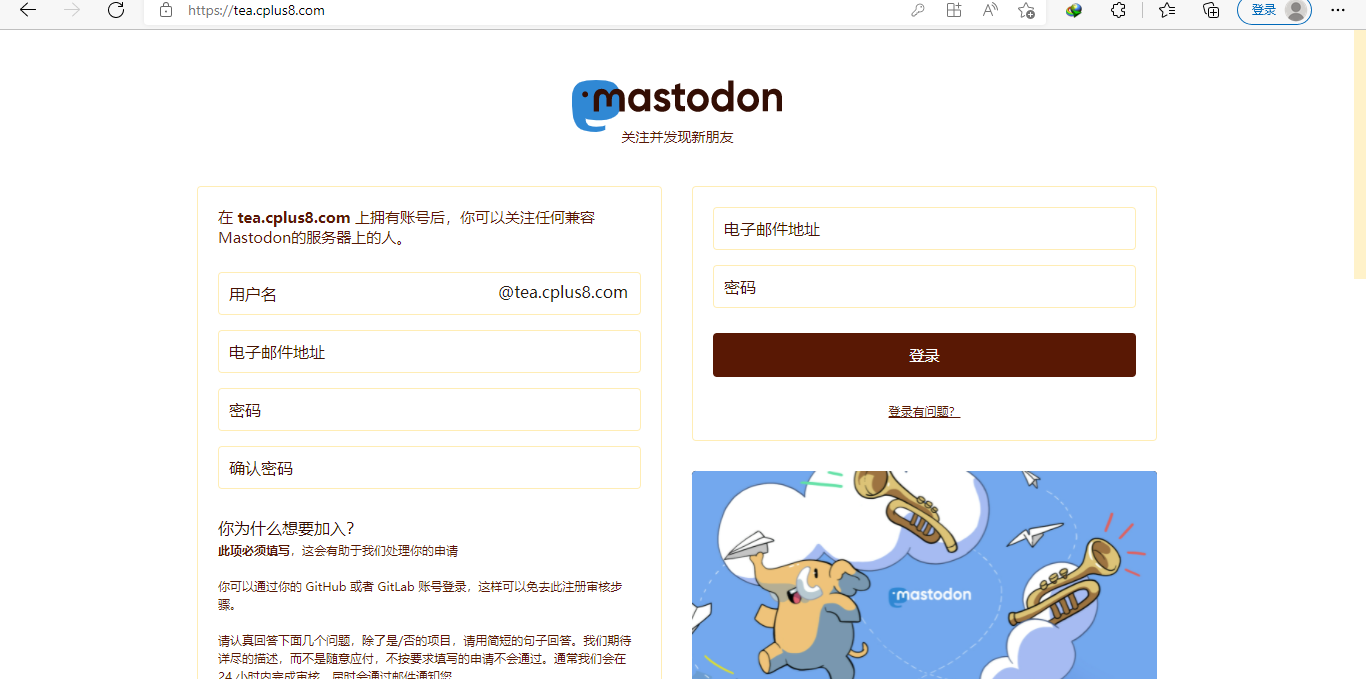
(一mastodon实例)
而今天要谈的是其一Mastodon(长毛象)的最简单无脑的DOCKER装法,为了简化安装,使用了宝塔面板,以及hello.2heng.xin(Mashiro大佬魔改的实例,系统使用的是debain/ubuntu。
参考:如何利用Docker搭建Mastodon实例(一):基础搭建篇
Debian10 通过Docker安装Mastodon社交平台
我们的实例?
欢迎驿站的用户来看看》?
先决条件
1.Mastodon比较吃的的是内存,所以建议使用1H2G及以上配置的机器,为了mastodon的正常运行,您可以设置一定大小的swap文件。
2.装好宝塔面板(因为懒
3.安装NGINX或相关的web服务器(如Tengine)
4.一个邮箱
5.一个域名以及SSL证书(证书化可以TrustAsia,Let's Encrypt的acme自动申请续期,alpha ssl等)
准备DOCKER
这里先安装好需要的docker-compose,docker。
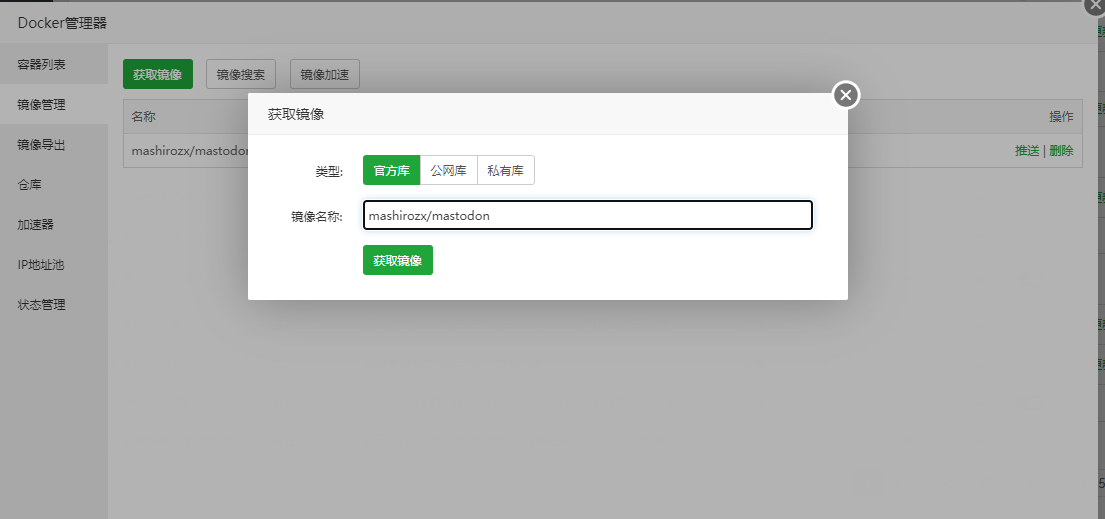
这里可以直接到宝塔的应用商店中搜索docker,安装这个Docker管理器.
这里安装Docker管理器时,他会顺便把docker安装了,但是您还需要手动安装docker-compose
apt-get install docker-compose

执行docker-compose version/docker -v检测是否安装成功。


拉取Mastodon镜像
拉取镜像及下载docker-compose.yml文件
由于mashirozx大佬提供的docker-compose.yml存在缩进错误,故这里提供一份订正过的YML文件。

mkdir -p /home/mastodon/mastodon
cd /home/mastodon/mastodon
docker pull mashirozx/mastodon
wget https://raw.githubusercontent.com/d1258zzz/mastodon/master/docker-compose.yml

对“docker pull mashirozx/mastodon”,您也可以通过docker管理器=》镜像管理=》获取镜像的对话框中填入 mashirozx/mastodon进行拉取,效果一样……
配置Mastodon
补充说明:在 如何利用Docker搭建Mastodon实例(一):基础搭建篇 可以看过需要另外设置PostgreSQL的步骤,但现在PostgreSQL已经包含在docker-compose.yml的service中,因此您毋需再次进行配置。
在/home/mastodon/mastodon文件夹中创建空白.env.production文件:
touch .env.production
然后在当前目录下,以ROOT用户运行
docker-compose run --rm web bundle exec rake mastodon:setup

Your instance is identified by its domain name. Changing it afterward will break things.
Domain name:
这里输入您准备给mastodon的域名。
Do you want to enable single user mode? (y/N)
一般来说都是N,除非你只是用作仅供自己使用的站点,(这样显然少了很多乐趣
Are you using Docker to run Mastodon? (Y/n)
你在用DOCKER运行Mastodon嘛? Of course!
然后下面关于pgsql和redis的设置直接默认,一路回车就好
PostgreSQL host: db
PostgreSQL port: 5432
Name of PostgreSQL database: postgres
Name of PostgreSQL user: postgres
Password of PostgreSQL user:
Database configuration works! 🎆
Redis host: redis
Redis port: 6379
Redis password:
Redis configuration works! 🎆
Do you want to store uploaded files on the cloud? (y/N)
如果您需要将文件存储在您的对象中,可以Y
Do you want to send e-mails from localhost? (y/N)
默认N,应该也没几个机器能够SMTP发件吧
这里需要准备一个邮箱,支持stmp发件,并还不能有ssl加密/非常迷惑
这下只能用网易家的邮箱,飞书的还有腾讯企业邮/qq邮箱都开起并强制ssl
zoho/yandex的域名邮箱都好像收费了,用不起
我这里用的是126邮箱。
Do you want to send e-mails from localhost? No
SMTP server: smtp.126.com
SMTP port: 25
SMTP username: @126.com
SMTP password:
SMTP authentication: plain
SMTP OpenSSL verify mode: none
E-mail address to send e-mails "from": @126.com
Send a test e-mail with this configuration right now? Yes
Send test e-mail to: @qq.com
OpenSSL这些东西好像挺复杂的,不能用ssl忍一下吧
This configuration will be written to .env.production
Save configuration? Yes
Below is your configuration, save it to an .env.production file outside Docker:
然后再下面你就会看到一段很长的白色内容,是的,他将被写入.env.production,这里有你的配置信息,将他复制下来备用!!!
Now that configuration is saved, the database schema must be loaded.
If the database already exists, this will erase its contents.
Prepare the database now? Yes
Running RAILS_ENV=production rails db:setup ...
Database 'postgres' already exists
Error connecting to Redis on localhost:6379 (Errno::ECONNREFUSED)
Error connecting to Redis on localhost:6379 (Errno::ECONNREFUSED)
Switching object-storage-safely from green to red because Redis::CannotConnectError Error connecting to Redis on localhost:6379 (Errno::ECONNREFUSED)
Error connecting to Redis on localhost:6379 (Errno::ECONNREFUSED)
Done!
All done! You can now power on the Mastodon server 🐘
连不上redis正常,因为这时候redis没有运行……
Do you want to create an admin user straight away? (Y/n)
配置管理员账号
Username:
E-mail:
Error connecting to Redis on localhost:6379 (Errno::ECONNREFUSED)
Error connecting to Redis on localhost:6379 (Errno::ECONNREFUSED)
Switching object-storage-safely from green to red because Redis::CannotConnectError Error connecting to Redis on localhost:6379 (Errno::ECONNREFUSED)
Error connecting to Redis on localhost:6379 (Errno::ECONNREFUSED)
You can login with the password: xxxxxxxxxxxxxxx
You can change your password once you login.
这里也要记得将管理员密码复制下来。
然后马上创建.env.production
nano .env.production
将复制下来的内容粘贴进去
启动Mastodon
启动Mastodon
docker-compose up -d
为相应文件夹赋权
chown 991:991 -R ./public
docker-compose down
docker-compose up -d
配置NGINX
在宝塔中创建新网站,域名填您给mastodon的。

然后根据自己的实际修改这里给出的示例nginx配置文件。https://github.com/mastodon/mastodon/blob/main/dist/nginx.conf
将19行和28行example.com改成你网站的域名,将20和44行的/home/mastodon/live/public 改成/home/mastodon/mastodon/public
去掉ssl证书部分内容的注释 #,路径填上你证书或密钥所在的句对路径
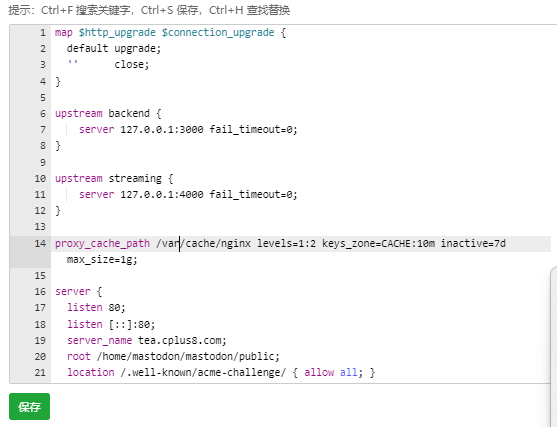
至此,较为基本的安装步骤已经完成。
当然还有全文搜索的功能可选开启,但这里作为最简化安装,不会再进行叙述。
完事……
体验
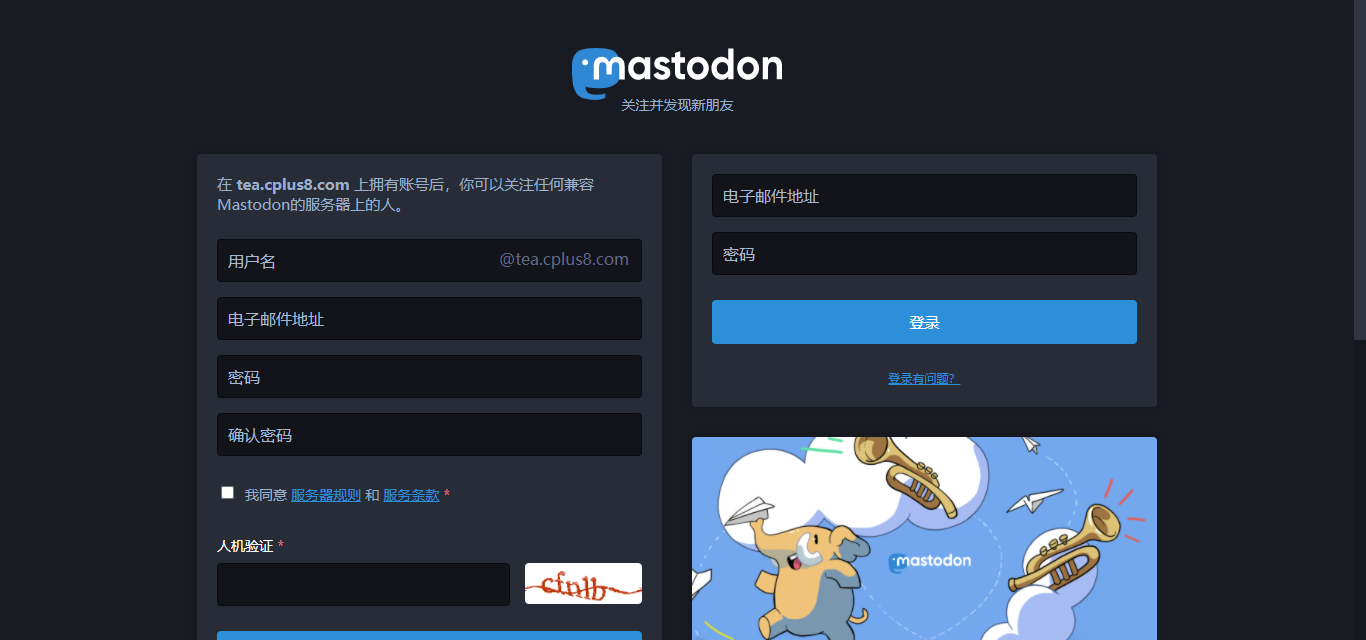
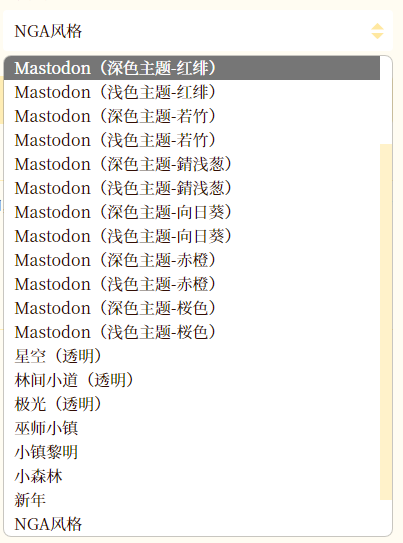
hello.2heng.xin在原来的基础上增加了一些主题,还有对于不同语言的嘟文使用了谷歌翻译,并且对于嘟文增加了Markdown支持、以及是否接入联邦宇宙的属性,反正懒人嘛,最好就能别自己动手。
